There are many reasons for getting in to underwater photography, you might already be a photographer and want to continue underwater, maybe you’re looking for a new challenge or perhaps you just want to capture your memories and share them with your family and friends. Whatever the reason may be, underwater photography can be incredibly rewarding and, be warned, it’s also highly addictive.
Step 1: Choosing Your Camera System
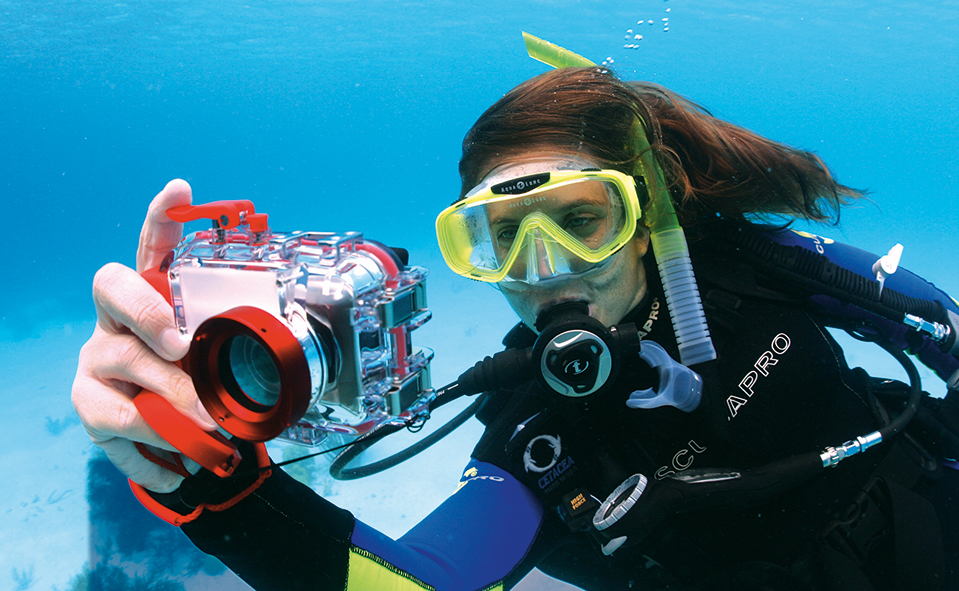
- Camera Body: If you already have a camera which you want to use underwater, check online to see if an underwater housing is available for it. Compact cameras are a great starting point. They are easy to travel with and modern camera technology means that they are capable of producing incredible images. Check for an underwater mode as this will help you to overcome issues with colour loss.
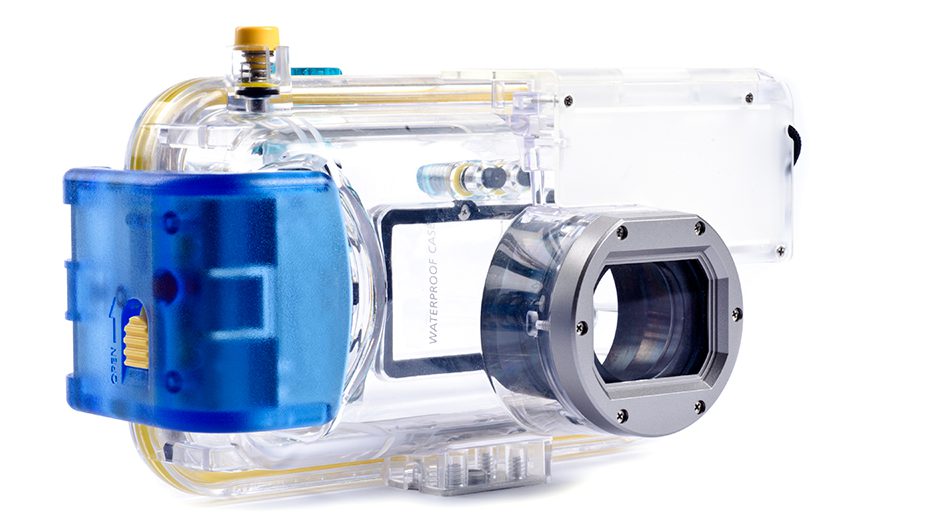
Underwater photography online forums provide a lot of useful information about the latest models and how they perform. These forums are also a good place to start checking prices and many offer discounts for purchasing a complete system (camera, housing, try and lights). - Camera Housing: Most mainstream camera manufacturers such as Canon, Olympus etc produce their own range of underwater housings which are generally rated to 30 meters. Stronger versions with higher depth ratings are available through independent housing manufacturers such as Nauticam, Ikelite, Seacam and others but tend to be more expensive.
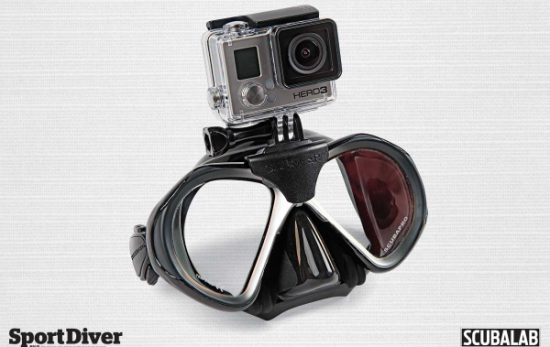
- Lighting: Lighting is the most critical factor when shooting underwater and there are 3 main options for lighting your images: using the cameras built in flash, using a strobe or using lights. The built in camera flash will work well when shooting small subjects at very close range (macro photography), for example a nudibranch. This is because the light generated by the flash will not travel far through water. A strobe light is an additional expense but makes a big difference. You’ll be able to shoot larger subjects as well as those that are further away. Strobe lights flash only when you take a picture so it’s difficult to know how the picture will look before you take it (same applies to using the built in flash). Strobes are much more powerful than the cameras flash and it’s possible to use a single strobe or double strobes (two together). Lights (also known as video lights) can be turned off and on and provide constant light rather than a flash. Having constant light means that you can see through the camera view finder how the image will look prior to taking the shot. Video lights tend to be less powerful than strobes but provide more light than the camera flash. They are often a big investment.
It’s a good idea to start out with the built in camera flash and add lights later when you have a feel for what type of photography attracts you most.
Step 2: Preparing your camera for diving
The golden rule when preparing your camera for diving is check, check and check again! Try to pack your camera in a low dust and well-lit environment. Make sure that you have tissues, a lint free cloth and silicone grease available as a minimum – silica gel sachets are also a good addition. Always follow any manufacturer’s guidelines for packing your camera.
Some additional tips include:
- If you have long hair, tie it back before you start. A single hair caught between the O-ring and the housing can cause a camera flood.
- When removing the O-ring from the housing use either an “O-ring remover” tool or a blunt object such as a credit card. Never use a knife or sharp implement to remove the O-ring.
- Always check and clean the O-ring and the area where it sits. Check for hair, salt residue, dust, fibres and any other foreign matter. In addition check that the O-ring feels smooth and does not have any cracks in it.
- Apply silicone grease to the O-ring prior to replacing it.
- If you are inserting silica gel sachets into your housing make sure they are carefully positioned so they do not affect the seal of the housing or the functionality of any of the buttons.
- Before diving take your prepared system to the wash tank and hold it underwater and check for any bubbles which could indicate an ineffective seal.
Step 3: Apply basic photography concepts underwater
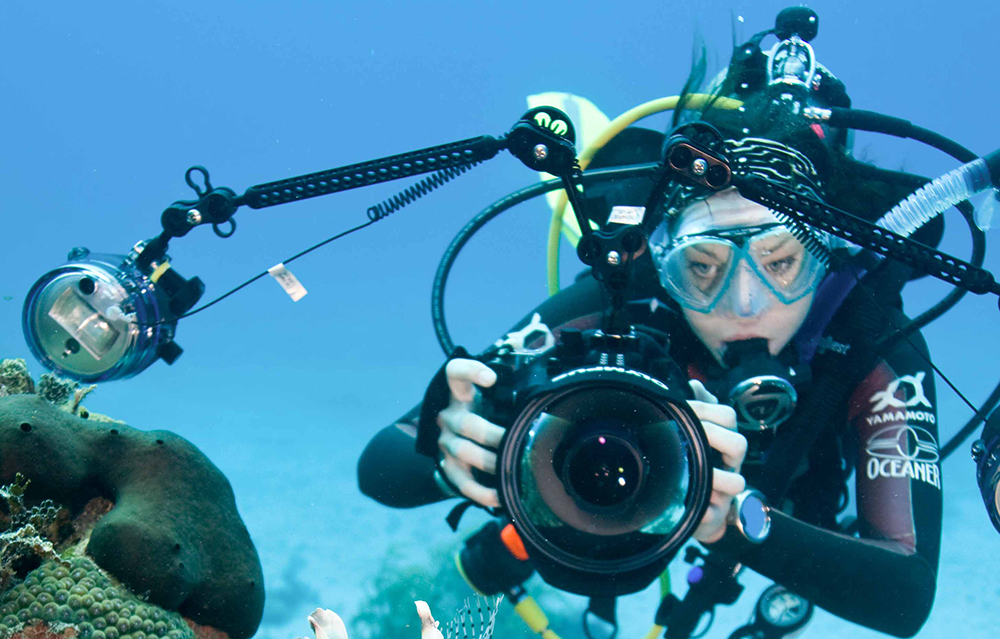
Now that you have your system packed up, it’s time to take the plunge! Resist the temptation to swim around like a maniac taking images of everything you see. Take it slowly and try to think about image quality rather than quantity.
Remember your breathing and buoyancy and avoid any contact with the reef or bottom. Think about keeping your breathing controlled and relaxed. Try to shoot as you are breathing out rather than breathing in so you are not fighting the effects of being positively buoyant and “floating upwards”.
Remember that your camera does not replace your buddy! Buddy contact is paramount to safety and whilst it is easy to become absorbed in your photography always remember to check where your buddy is and if you plan to stop to take a picture, make sure that you communicate this to them so they do not continue diving without you.
For the colours of the reef to reveal themselves they need adequate lighting so if shooting with the built in flash remember to get as close as possible to the subject without being invasive. Some species will allow you to get closer than others (nudibranch for example) but with all species, you have a much better chance of getting close and capturing a good image if you approach slowly and carefully.
Think about the “Rule of Thirds” to ensure good composition. Imagine that your view finder is divided into thirds either vertically or horizontally and try to divide you image up in this way, for example if shooting a fish sitting on coral in a landscape orientation the bottom third should be coral, the middle third the fish and the top third water (blue). Whilst this is not always possible it gives a good balance between the subject and the foreground and background whilst incorporating aspects of negative space.
Remember – your camera has a range of settings for a reason! If you are shooting on Auto or Program modes, select the underwater setting – this will automatically add some red into your images which is the first colour on the spectrum which we lose. You will still need to add light though so you’ll still need to be close to the subject. When shooting at close range select the Macro option – this will allow your camera to focus better and you’ll be amazed at the minute details which it will capture – much more than what you see with the naked eye!
Don’t forget to keep progressing. Once you have become comfortable with shooting underwater, challenge yourself to step away from Auto and Program modes and start using the cameras manual settings. You’ll really be able to take control and generate the image effects that you want to.
If you are shooting without an external strobe and want to try and capture reef images, the best way to achieve this is by staying very shallow where you have sufficient natural light from the surface. Ideally you should be at less than 5 meters and choosing a sunny day will help too!
Step 4: After diving care for your camera
When you return from a dive rinse your camera system in fresh water to remove any salt. Plunge it into a wash tank or hold it under running water. Whilst in fresh water depress and release each of the buttons a few time to help flush out any salt water that may be trapped beneath the seals. This will help reduce the risk of “sticky” buttons on your next dive.
If a drying tank is available make use of it. Gently blow air around the housing, paying attention to the buttons in particular and again depressing and releasing them to force out any residual water.
Remove the O-ring, rinse it in tepid water, dry and apply a small amount of silicone grease so that it will not dry out and crack whilst not in use. Twist the O-ring once so that it forms a loose figure of 8 shape and place it inside the housing and seal.
Immediately transfer your images from your memory card to your hard drive so that your images are saved and your memory card has storage space for your next dive!
If you are interested in learning more about underwater photography check the PADI Dive Store Locator to find a local dive shop which is offering the PADI Digital Underwater Photographer Specialty Course. During the course you’ll learn more about getting started and how to capture beautiful images under the supervision of a PADI Instructor – it’s a lot of fun, a great learning experience and you’ll be able to share your love of the ocean through your images!